Start with a magic circle to crochet kitty ears, then work in double crochet stitches to form the ear shape. Use a smaller hook to create the yarn for a detailed and intricate look.
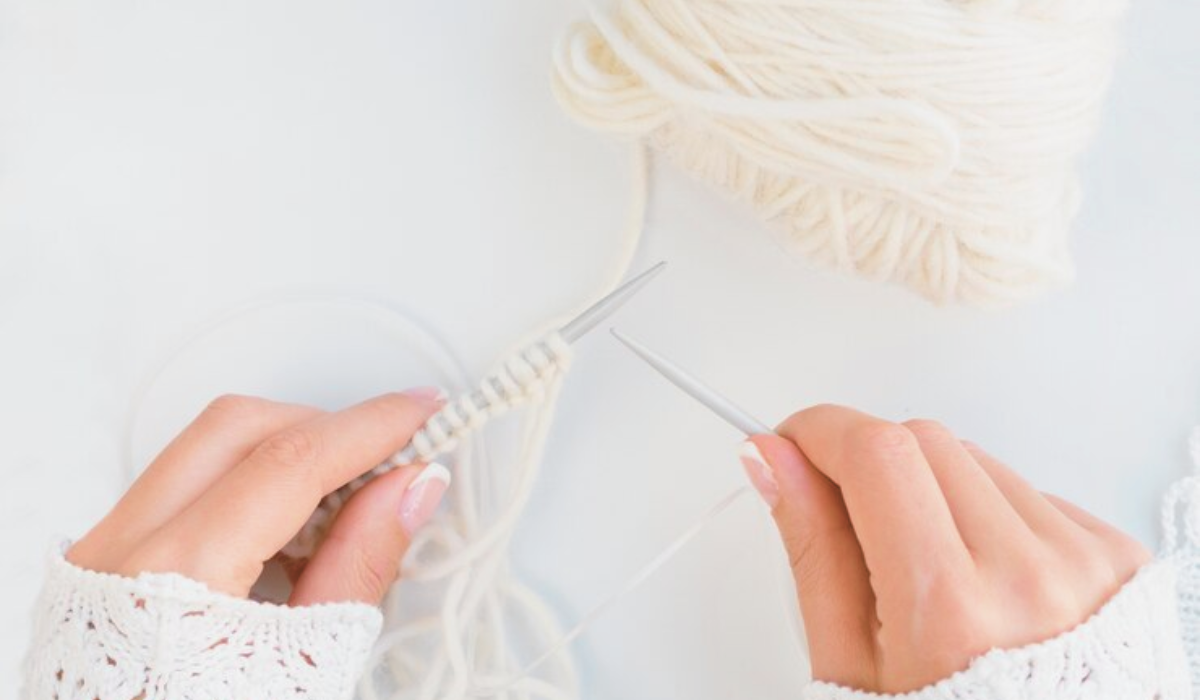
Crocheting kitty ears is a fun and creative way to add a whimsical touch to your accessories. Whether you’re making them for a costume or fun, these cute kitty ears are sure to turn heads. In this guide, I’ll walk you through the step-by-step process of crocheting your kitty ears, providing tips and techniques to make the procedure easy and enjoyable.
You can quickly create adorable kitty ears with a few basic crochet skills and some yarn. Let’s get started!
Discovering The Materials
Regarding crocheting adorable kitty ears, your chosen materials are crucial in achieving the perfect look for your project. From selecting the suitable yarn to choosing the ideal crochet hook, each element contributes to the overall outcome of your creation. Let’s explore the essential materials you need for this delightful crochet journey.
Selecting The Right Yarn
Choosing a suitable yarn is essential for creating kitty ears that are both durable and visually appealing. Opt for a soft, medium-weight yarn in colours that resonate with feline aesthetics, such as blacks, browns, or playful combinations of pink and white. Look for easy yarns to work with and lend themselves to creating cute and cuddly creations.
Choosing The Perfect Crochet Hook
Equally important is selecting the perfect crochet hook. Ensure that the hook size aligns with the yarn weight you have chosen. A size G or H crochet hook works well for most medium-weight yarns. Experiment with different hooks to find one that can achieve the desired tension and stitch definition for your kitty ears.
Getting Started
Embarking on a crochet project can be both exciting and rewarding. If you’re a beginner, fear not; crocheting a pair of cute kitty ears can be a fun and relatively simple project. Below, you will find the step-by-step guide to get you started on your crochet journey. So, grab your yarn and crochet hook, and create your adorable kitty ears!
Creating The Foundation Chain
The first step in creating your kitty ears is to make the foundation chain. The foundation chain serves as the base for your crochet work and determines the width of your project. To make the foundation chain, you will need to
- Make a slip knot at the end of your yarn.
- Hold the slip knot in your non-dominant hand and the crochet hook in your dominant hand.
- Insert the crochet hook into the slip knot and hook the yarn.
- Pull the yarn through the slip knot to form a new loop on the hook.
- Continue this process until you have achieved the desired number of chains.
Shaping The Ear Base
Once you have created the foundation chain, the next step is to shape the ear base. This involves working into the foundation chain to create the triangular shape of the kitty ear. To shape the ear base, you will
- Begin by working single crochet stitches into the second chain from the hook.
- Continue to work single crochet stitches in each chain across the row.
- At the end of the row, you will turn your work and repeat the single crochet stitches on the next row, decreasing at the beginning and end of each row to create the triangular shape of the ear.
Following these steps will help you create the foundation chain and shape the ear base for your crochet kitty ears. Stay tuned for the next steps in completing your adorable crochet project!
Crocheting The Ears
Crocheting the ears is a fun and simple way to add a cute touch to your projects. Whether crafting a beanie, headband, or costume, kitty ears are a playful addition that can bring some whimsy to your style. In this section, we’ll walk you through crocheting the ears, forming the triangle shape, and adding the finishing touches. Let’s dive in and get crafty!
Forming The Triangle Shape
First, you’ll need to start with a magic ring or a chain and create the base of the ears. Choose a soft yarn and a crochet hook that suits your project, and remember to keep your tension consistent for a neat, finished look. Here are the steps to form the triangle shape:
- Begin with a slip knot and chain four stitches, then slip stitch into the first chain to form a ring.
- Next, crochet three double-crochet stitches into the ring. Then, chain two stitches to create a corner.
- Now, crochet three more double crochet stitches into the ring, followed by another chain two to form the second corner.
- Finally, crochet three double crochet stitches into the ring once more and slip the stitch into the top of the starting chain to close the triangle.
Adding Finishing Touches
Once you’ve completed the triangle shape of the ears, it’s time to add the finishing touches to give them a polished, professional look. Consider using a contrasting colour or adding a border for extra flair. Here’s how to add the finishing touches:
- Fasten off the yarn and weave in any loose ends to secure the shape of the ears.
- If desired, attach the ears to your project by sewing or cropping them. Be mindful of the placement to achieve the desired cat-like appearance.
- For an optional border, you can edge the ears with a single crochet or slip stitch in contrasting colours to frame the triangles and give them a more defined shape.
How To Crochet Kitty Ears: Easy Step-by-step Guide
Are you looking to add a cute and playful touch to your crochet projects? Crafting your kitty ears is a fun and easy way to add a touch of whimsy to your accessories. In this easy step-by-step guide, we’ll show you how to crochet kitty ears that can be assembled onto a headband for a charming and customizable look.
Crafting The Inner Ear Color
Choosing the right inner ear colour is essential for achieving the adorable and authentic feline look for crocheting kitty ears. Consider using a soft pink or white yarn to replicate a real kitty’s delicate inner ear colour. To craft the inner ear, follow these simple steps:
- Crochet a magic ring and work six single crochet stitches into the circle.
- Next, work two single crochet stitches into each stitch around for 12 stitches.
- Continue working one crochet into the next stitch and two crochet stitches into the next. Repeat this pattern, ending with a single crochet stitch in the last stitch, resulting in 18 stitches.
- To shape the ear, work one slip stitch into the next stitch and fasten off, leaving a long tail for sewing the ear to the headband.
Assembling The Ears To A Headband
Once you’ve crafted the inner ear colour, it’s time to assemble the ears to a headband for a finished and wearable look. Follow these steps for seamless assembly:
- Using the long tail from the inner ear, carefully sew the completed ears onto a plain headband, ensuring symmetrical placement and a snug fit.
- Securely knot and weave in any loose ends to ensure the ears are firmly attached to the headband.
- For added flair, consider embellishing the headband with crochet elements, such as floral motifs or braided details, to complement the finished kitty ears.
Conclusion
Crocheting kitty ears can be a fun and rewarding project for crafters of all skill levels. Whether you’re a beginner or an experienced crocheter, the step-by-step instructions provided in this blog post will quickly guide you through the process.
Let your creativity shine as you create adorable kitty ears for yourself or your loved ones. Happy crocheting!
Frequently Asked Questions For How To Crochet Kitty Ears
How Do You Make Little Cat Ears?
Cut two triangles out of a felt or fabric to make little cat ears. Then, attach them to a headband or hair clips for wearing. You can also add some fur or decorative elements for a fun touch.
How To Crochet Cat Ears For Headband?
To crochet cat ears for a headband:
- Start with a magic ring and work in rounds.
- Choose your favourite crochet stitch and increase to form a triangle shape.
- Attach the ears to a headband and embellish as desired for a cute accessory.
How Do You Make Crochet Ears Stand Up?
Using a stiffening agent like:
- Useic starch or glue to make crochet ears stand up
- Apply the stiffening agent to the ears and shape them as desired
- Allow them to dry completely before attaching to the crochet project
This helps the ears maintain their shape.
How Do You Make A Kitty Ear Headband?
To make a kitty ear headband, cut out ear shapes from felt, attach them to a headband, and add details like inner ears and whiskers using hot glue. For a unique touch, you can also embellish with fabric, bows, or flowers.